Installing NetSuite CRM Connector in Salesforce
To install the NetSuite CRM Connector package
1. Log in to Salesforce.
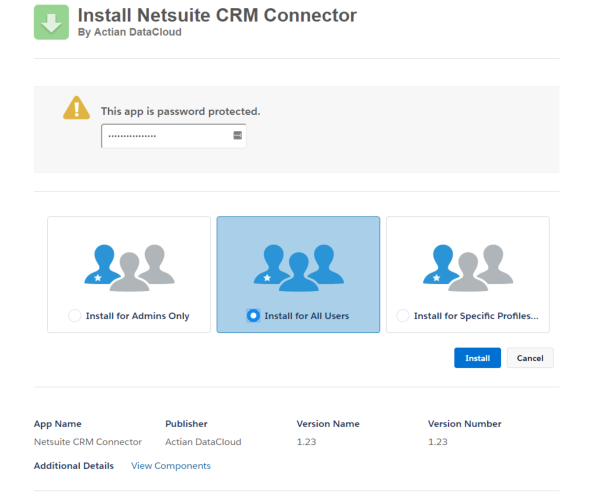
2. Click on the link provided to you by Actian to begin the installation of the NetSuite CRM Connector package in your Salesforce organization.
3. Enter the password provided with the installation link.

4. Select Install for All Users.
5. Click Install to complete the installation process.

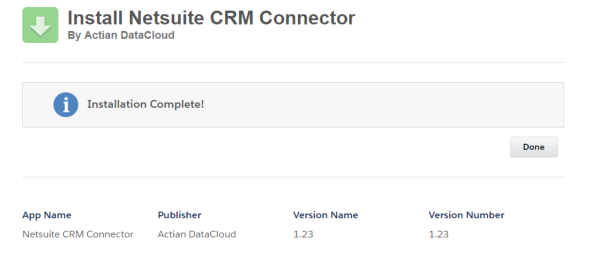
6. Click Done.
After the package is installed, you will receive a confirmation notification.
Tip... During configuration of the connector, you can create a custom Visualforce tab for the NSCRM__Administration page so you can easily come back to it.
If you create a custom Visualforce tab, then you do not need to go to Setup > Installed Packages > Configure each time you want to make an edit.
If you create a custom Visualforce tab, then you do not need to go to Setup > Installed Packages > Configure each time you want to make an edit.
To create a custom Visualforce tab
1. From Setup, enter Tabs in the Quick Find box, then select Tabs.
2. Click New in the New Visualforce Tab related list.
3. Select Administration [NSCRM__Administration] for the Visualforce page.
4. Enter “NSCRM Administration” for the tab label.
Tab name will auto-populate the name NSCRMAdministration.
5. Click the Tab Style lookup icon to display the Tab Style Selector.
If a tab style is already in use, a number enclosed in brackets [] appears next to the tab style name. Hover your mouse over the style name to view the tabs that use the style. Click Hide Styles, which are used on other tabs to filter this list.
6. Click a tab style to select the color scheme and icon for the custom tab.
7. Enter a description of the tab, if desired.
8. Click Next.
9. Select the user profiles for which the new custom tab will be available.
10. Click Next.
11. Specify the custom apps that should include the new tab.
12. Select Append tab to users’ existing personal customizations to add the tab to your users’ customized display settings if they have customized their personal display.
13. Click Save.
Last modified date: 12/14/2021