|
n
|
User
A regular user is able to query and view audit records and manage audit record archives. |
|
n
|
Administrator
In addition to the above user privileges, an AuditMaster administrator can view the status log, set audit configurations, manage users, adjust system settings, and set the audit filter. |
Note The built-in user ID admin has the default password MASTER. Passwords are case-sensitive; user names are not. To change this password, see Changing Your User Password. For information on the relation of AuditMaster logins to database and OS logins, read Displaying Audit Records under Pervasive PSQL Security.
|
1
|
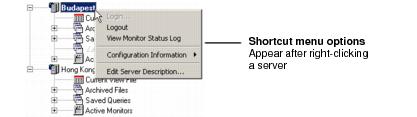
In the data tree, right-click a server name to select Login, or double-click the server icon. To log in to the currently selected server, simply press Enter.
|

|
2
|
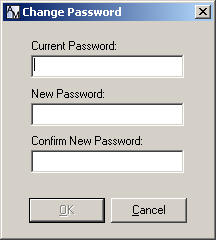
The password is case-sensitive, can be up to 10 characters long, and may use any numbers or letters.
|
5
|
Click OK.
|
Note The built-in user ID admin has the default password MASTER. Passwords are case-sensitive; user names are not. For information on the relation of AuditMaster logins to database and OS logins, read Displaying Audit Records under Pervasive PSQL Security.
You can run AuditMaster under the Pervasive PSQL database security features. We recommend you first familiarize yourself with the security chapter in the Pervasive PSQL Advanced Operations Guide.
|
C:\<installation directory>\Samples
C:\<installation directory>\Audit (default) (Entered but not used) |
|||
|
Database user names and passwords must match OS or network logins exactly.
|
Database user names and passwords can differ from OS or network logins, if they exist.
|
||
When the Pervasive PSQL DefaultDB security is enabled and security policy is set to Mixed or Database, the database engine must be configured in Pervasive PSQL Control Center (PCC) for AuditMaster to run. To do so, select Prompt for Client Credentials in the Properties Access window for the Pervasive PSQL engine.
|
‰
|
|
1
|
|
3
|
|
4
|
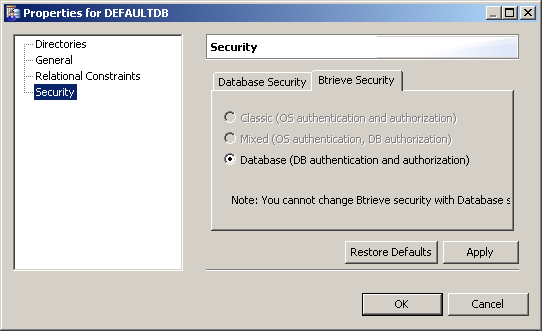
In the left-hand list, select Security.
|
|
5
|
In the right-hand pane, select Btrieve Security.
|
|
6
|
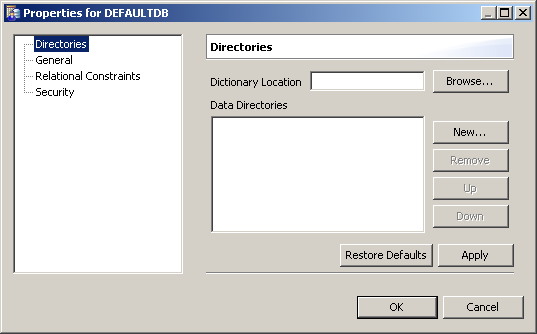
In the left-hand list, select Directories.
|
|
7
|
Under Directories, use the New button to add the audited file path names.
|
|
8
|
When you’re done, select OK to close the window.
|
|
9
|
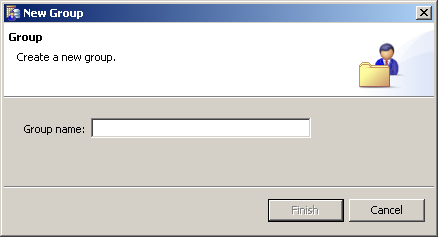
|
10
|
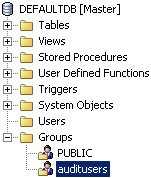
|
11
|
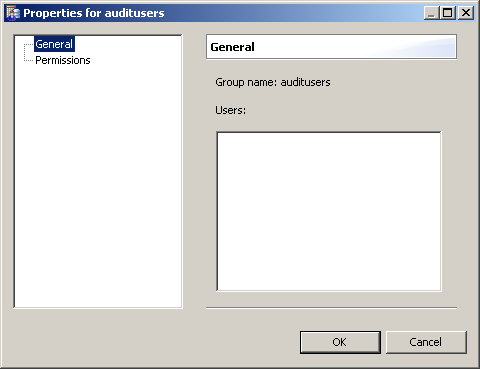
|
12
|
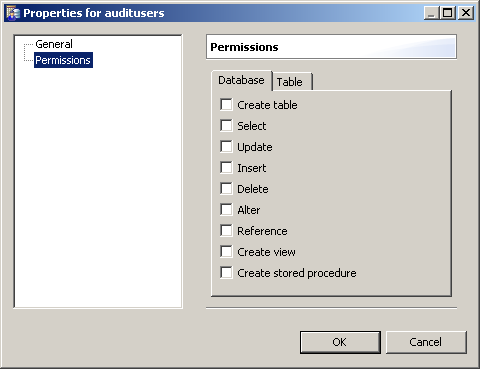
In the left-hand list, click Permissions.
|
|
13
|
Select checkboxes for all database rights, including Create Table, and click Close. No specific tables need be added to the list.
|
|
14
|
|
15
|
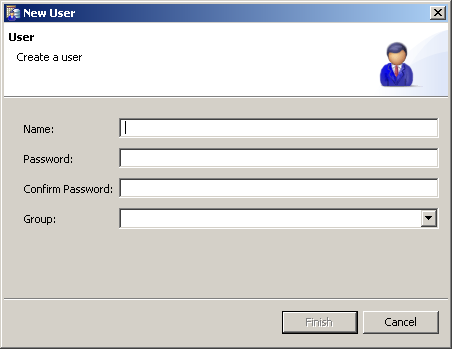
Enter a user name and password for an AuditMaster user and select auditusers from the drop-down list. Note the following:
|
|
17
|
Return to step 14 for to add other AuditMaster users as needed.
|
Once AuditMaster users are added, those with administrative rights within the AuditMaster application may begin to create audit configurations as described in Chapter 6: Working with Audit Configurations.
|
2
|
If Pervasive PSQL Control Center (PCC) is not running, start it from the operating system Start menu or Start screen.
|
|
3
|
In Pervasive PSQL Explorer, right-click the Services node and select Restart All Services.
|
|
4
|
Figure 4-1 Server Configuration Shortcut Menu