The database used in this example is fictional. Simply read through the steps to become familiar with the audit configuration procedure. In the next tutorial, Configuring Data Monitoring with a Schema, you will have sample files for hands-on practice.
|
1
|
|
2
|
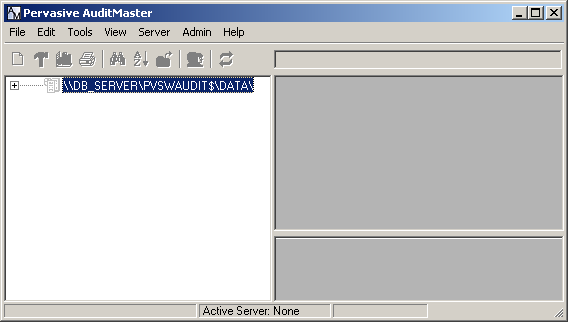
Right-click the server to select Login. You may also double-click.
|

|
3
|
Note The built-in user ID admin has the default password MASTER. Passwords are case-sensitive; user names are not.
|
4
|
Click OK.
|
|
5
|
|
6
|
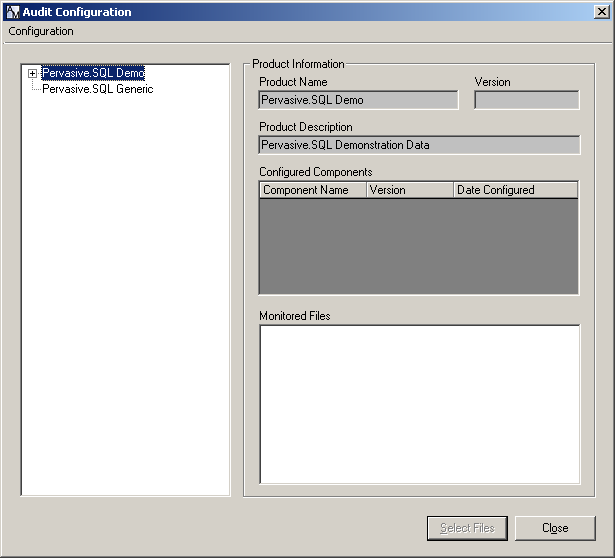
In the left pane, right-click Pervasive PSQL Generic and select New Configuration. You may also double-click to open it.
|
|
8
|
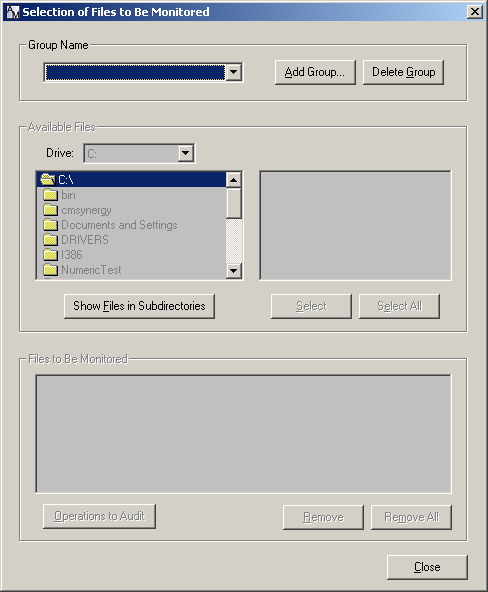
Click Add Group.
|
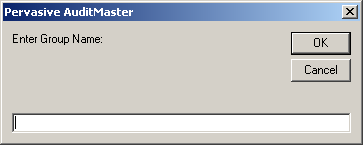
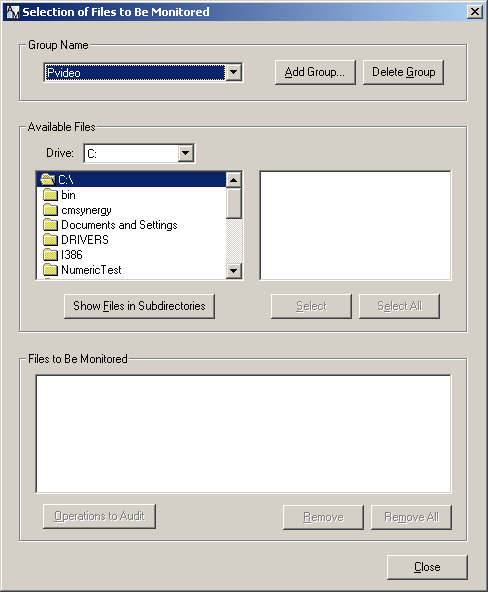
For this example, the group name Pvideo is used.
|
10
|
In the Available Files area, navigate through the folder hierarchy to locate files to monitor. Only files in Btrieve format will be listed. You may also use the Show Files in Subdirectories button, after double-clicking a folder, to display a list of all Btrieve files from the double-clicked directory downward.
|
|
11
|
Highlight a file name, and click Select. You may also double-click to select a file.
|
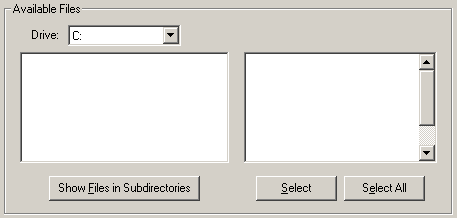
You can also click Select All to select every file in the current list.
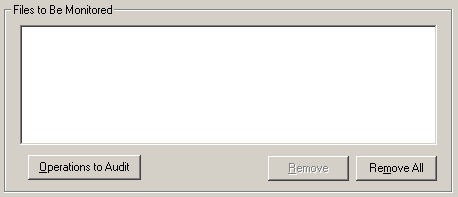
If you decide not to monitor a file, select it and click Remove to delete it from the group. Remove All deletes all files from the group.
Note The Operations to Audit button enables you to override the global auditing settings applied to each selected file by default. See details under Operations to Audit by File.
|
12
|
When you are finished, click Close.
|
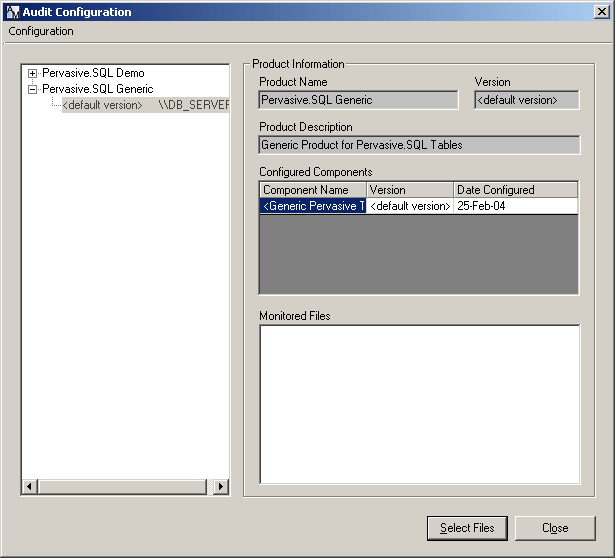
In the audit configurations, expand the one that contains the group and file you want to change, then click the Select Files button to display the Selection of Files to Be Monitored window and return to step 10.
|
15
|
Click OK.
|
Your Pervasive PSQL installation includes a database for demonstration purposes, stored in the folder Demodata. For this tutorial, the schema for these tables has already been imported into AuditMaster so that you can experiment with audit records for the demonstration database.
Managing Schemas shows how to create a new audit configuration that uses your own application and its schema.
|
1
|
|
2
|
Right-click the server to select Login. You may also double-click.
|
|
3
|
Note The built-in user ID admin has the default password MASTER. Passwords are case-sensitive; user names are not.
|
4
|
Click OK.
|
|
5
|
|
6
|
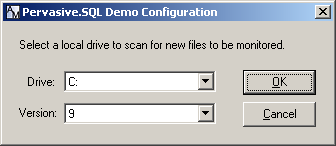
In the left pane of the Audit Configuration window, right-click Pervasive PSQL Demo and select New Configuration. You may also double-click to open it.
|
|
7
|
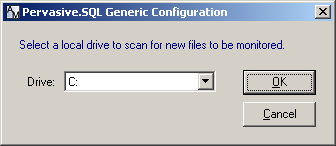
If you have a standard Pervasive PSQL installation, click OK to accept the default drive C: for the Pervasive PSQL Demo drive location and the version of Pervasive PSQL. Otherwise, use the drop-down list to change to the appropriate location for your Pervasive PSQL database.
|
|
8
|
Click Add Group.
|
|
9
|
|
10
|
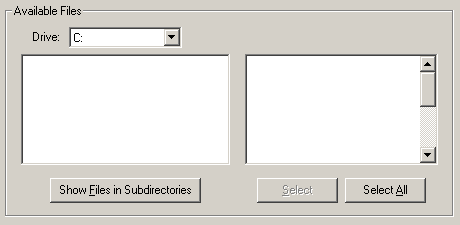
In the Available Files area, navigate through the folder hierarchy to locate files to monitor. Only files in Btrieve format are listed. You may also use the Show Files in Subdirectories button, after double-clicking a folder, to display a list of all Btrieve files from the double-clicked directory downward.
|
For this example, select the Pervasive PSQL demonstration directory C:\<installation directory>\Demodata.
|
11
|
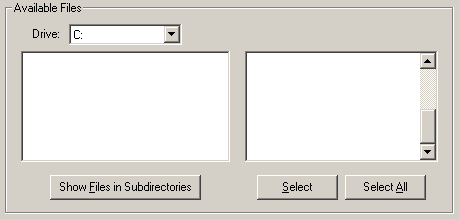
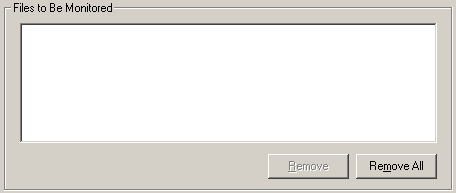
You can also click Select All to add every file in the current list.
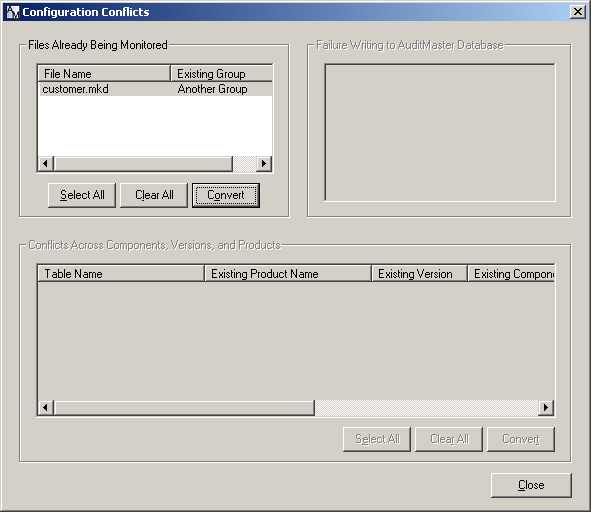
Each file can be a member of only one group in one audit configuration. If you select a file that is already listed in another group, AuditMaster informs you of a configuration conflict. Should this occur, see Resolving Configuration Conflicts.
If you decide not to monitor a file, select it and click Remove to delete it from the group. Remove All deletes all files from the group.
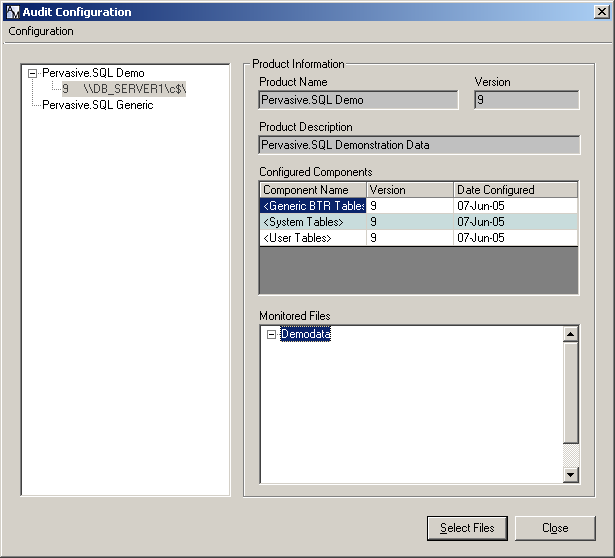
In the audit configurations, expand the one that contains the group and file you want to change, then click the Select Files button to display the Selection of Files to Be Monitored window and return to step 10.
|
15
|
Click OK.
|
You are now ready to attempt to create an audit configuration for your own Pervasive PSQL database server, application, database files, and schema. Proceed to Managing Schemas.
Each file in an audit configuration receives a default list of audit events, but you also can click the Operations to Audit button in the Selection of Files to Be Monitored window to reset that list as shown here.
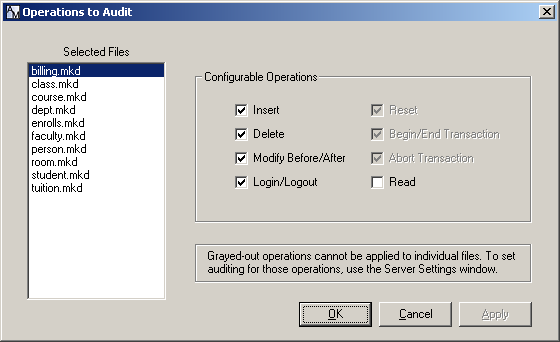
Note In a Pervasive PSQL database, when the client-side cache engine is turned on, the cache engine reads an entire database page after 8 consecutive reads in anticipation of more reads. The records in the database page read by the cache engine are not audited by the event handler on the server. If auditing requires that every read be captured, verify the setting is off. However, lack of engine caching can reduce database performance. The behavior occurs only when the threshold of 8 consecutive reads is reached. If 7 reads and then an update occurs, no caching occurs and all 7 reads are captured. In Pervasive PSQL Control Center, expand Local Client, right-click MicroKernel Router, and select Properties, then click Performance tuning to see the setting Use Cache Engine. By default, the setting is off.
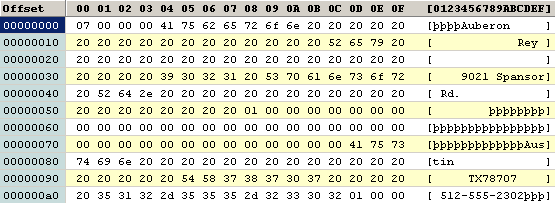
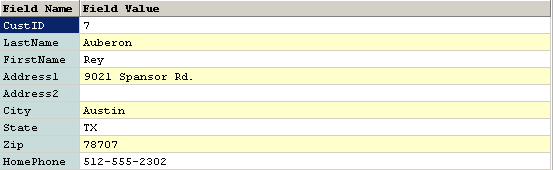
Without its schema, application data in audit records appears as hexadecimal rows and you cannot set alerts for individual data fields. The example Configuring Data Monitoring without Schemas monitored files in a fictional video store database. Lacking a schema, the application data record for an insert resembled the following:
Note If you have set Pervasive PSQL security policy on the DefaultDB database to Mixed or Database, then before working with a new schema for an audit configuration, you must first add its path to the list of data locations for DefaultDB. See details under Running AuditMaster under Pervasive PSQL Security.
|
1
|
|
2
|
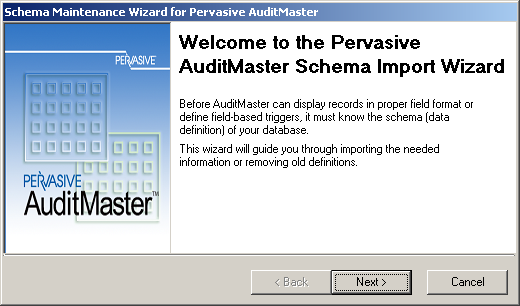
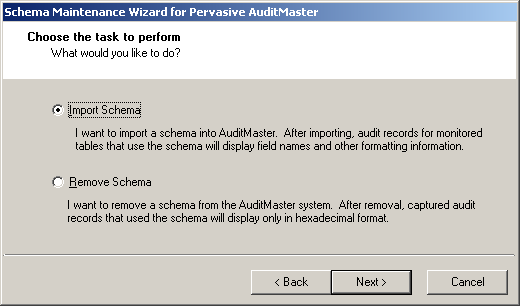
Click Next to continue.
|
|
3
|
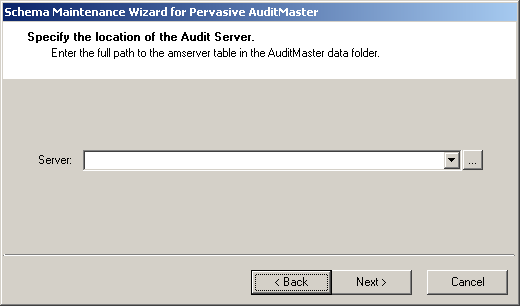
Accept the default path to the file, or enter a custom path, and click Next. You may also use the ellipsis button to browse to a folder or network location.
|
|
4
|
|
5
|
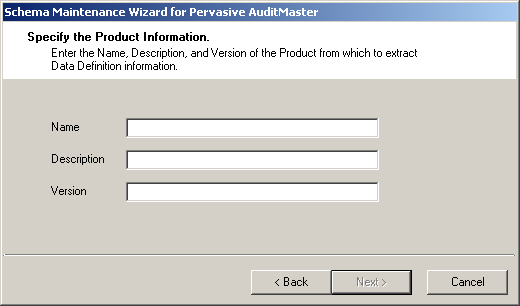
Enter a name for the audit configuration.
|
|
6
|
Enter a description for the audit configuration.
|
|
7
|
Enter a version for the audit configuration.
|
|
8
|
Click Next.
|
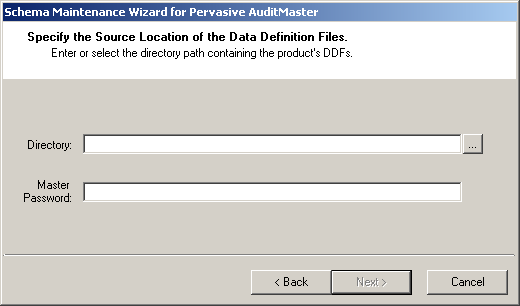
This directory is the location for the database tables and schema information in their data dictionary files (file.ddf, field.ddf, index.ddf).
|
10
|
Click Next.
|
|
11
|
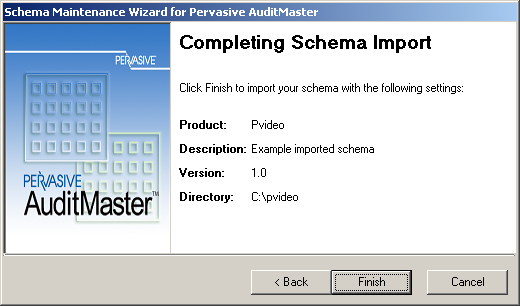
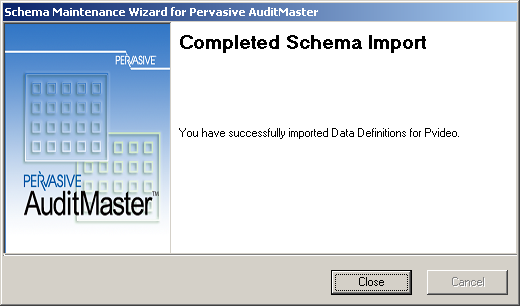
Click Finish to complete the import.
|
|
12
|
Click Close.
|
|
1
|
|
2
|
Click Next to continue.
|
|
3
|
Accept the default path to the file, or enter a custom path, and click Next. You may also use the ellipsis button to browse to a folder or network location.
|
|
4
|
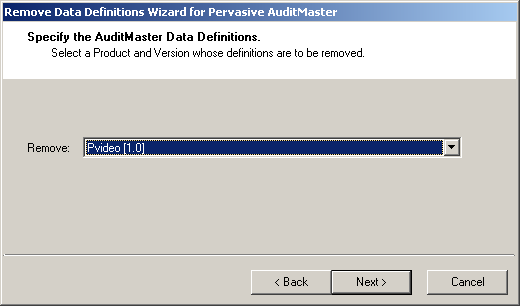
|
6
|
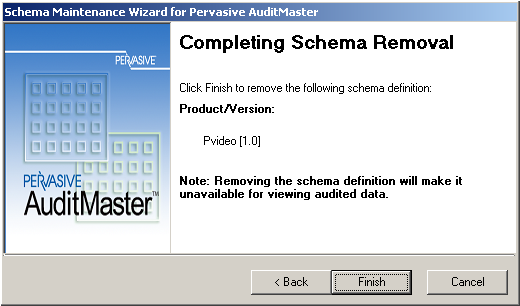
Click Finish.
|
|
7
|
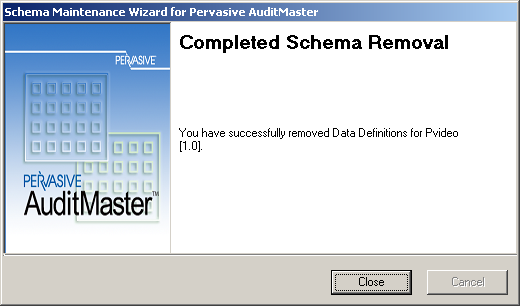
Click Close.
|
|
n
|
Click the Close button to cancel the selection and leave the file in its original group.
|
|
n
|
Move the file to the new group by selecting it and clicking the Convert button.
|