Archive Manager is a tool for handling audit archives. Before using it, first read Working with Archived Audit Records.
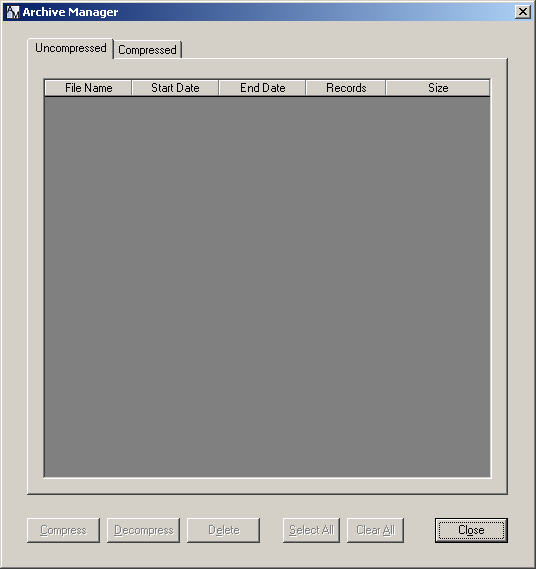
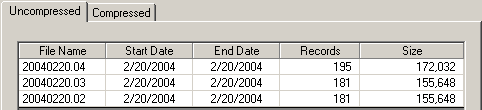
In the data tree, you handle one archived file at a time, but Archive Manager allows you to work with several archived files as a group. The Tools Archive Manager command displays its window.


|
Compress. Compress the file.
|
|
Decompress. Decompress the file.
|
|
Delete. Remove the file permanently.
|
|
Select All. Highlight all files in the list.
|
|
Clear All. Clear highlighting on selected files.
|
|
Close. Close Archive Manager.
|
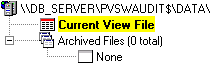
Note The larger the file, the longer it takes to decompress and become ready to query. For large files, to be sure all records are ready, select Admin View Status Log to check the log for the “finished decompressing” message, even if the file icon shows as uncompressed. You may also want to right-click Archived Files in the data tree and select Refresh All to update the display.
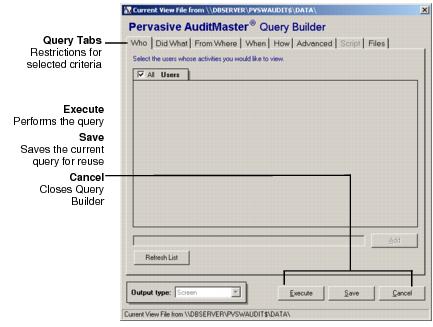
To display audit records from a current view or archived file, you must first run a query using AuditMaster Query Builder. You may query for all available audit records in the files you select, or you may restrict the query to Who, Did What, From Where, When, or How. For example, you can search for audited events on a particular date, events from a selected table, or changes that were made by only one particular user.
Figure 7-3 Query Builder Window
|
2
|
|
Table 7-3
|
Users
All records that contain a specific user or users
All records that contain a specific user or users
|
1.
|
To find a specific user or users, clear the All Users option.
|
|
4.
|
If needed, you can add a user by clicking Add and typing in the specific user.
|
Operations, Groups, and Tables
Specific operations, such as an insert or a delete, in a specific type of table, in a specific group
Specific operations, such as an insert or a delete, in a specific type of table, in a specific group
|
1.
|
To find a specific type of operation, clear the All Operations option. You can also clear the All Groups or All Tables option. The list is now available.
|
Network Addresses
Any information originating from a specific network address.
Any information originating from a specific network address.
|
1.
|
To find a specific network address, clear the All Network Addresses option. The list of network addresses is now available.
|
|
2.
|
Select one or more network addresses by checking the box beside the address. If needed, you can add an address by clicking Add and typing in the specific network address.
|
Specific Dates
Any activity on a specific date and within a time range
Any activity on a specific date and within a time range
Note: The time range applies to each individual day in the date range (e.g., 8:00 a.m. to 5:00 p.m. on each day).
Processes or Programs
The program or process identified by AuditMaster in the Process Name column of the audit record grid
The program or process identified by AuditMaster in the Process Name column of the audit record grid
|
1.
|
To find a specific program or process, clear the All Processes option. The processes are now available.
|
|
2.
|
Select a program or process by clicking the box beside the option. If the process name does not appear, use the Add field at the bottom of the pane to include it in the list.
|
In the save dialog box, provide a descriptive name for the query and click OK. For details on using a saved query, see Running a Saved Query or Last Query Executed.
|
3
|
To run the query, click Execute.
|
|
1
|
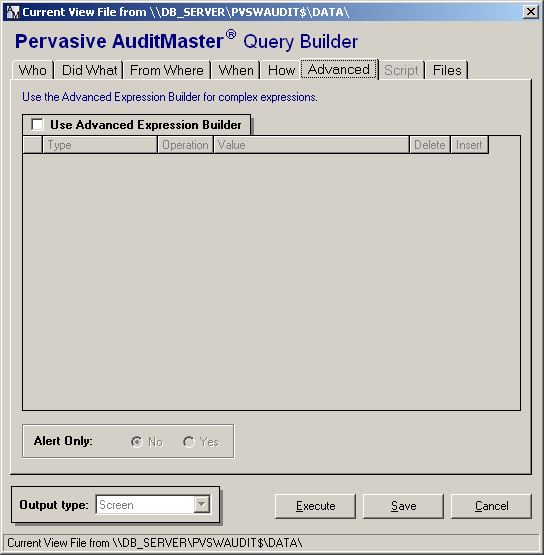
Open the Query Builder window, and click the Advanced tab.
|
|
2
|
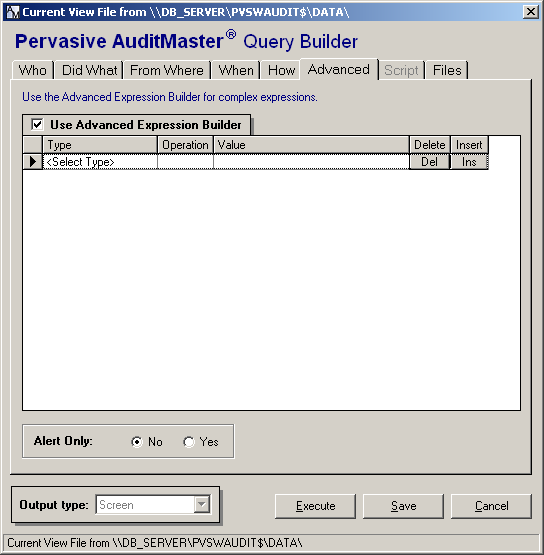
To customize your query, select the Use Advanced Expression Builder checkbox.
|
|
3
|
In the Type column, double-click Select Type to activate a drop-down list for the following query attributes:
|
Note All text values entered for Select Type are case-sensitive. For example, using defaultdb as the database name returns no result, since it does not match case with the name DefaultDB.
|
5
|
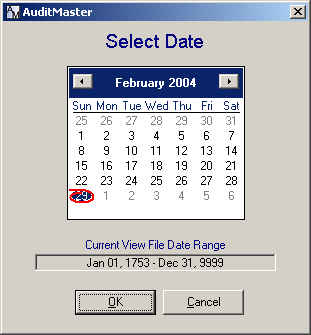
Click OK to accept the default date.
|
|
6
|

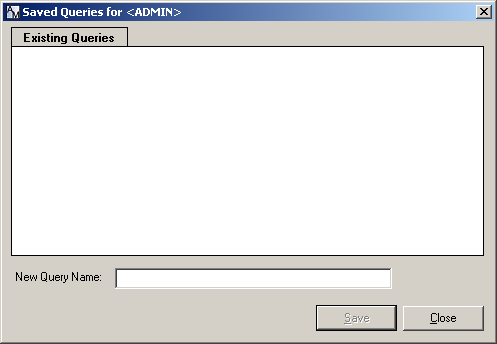
The Saved Queries window appears to enable you to give the query a name and save it for future use. See also Running a Saved Query or Last Query Executed.
|
10
|
To run this query, click Execute.
|
Figure 7-4 Files Tab

Note The larger the file, the longer it takes to decompress and become ready to query. For large files, to be sure that all records are ready, use the Admin View Status Log command to check the status log for the “finished decompressing” message, even if the file icon shows as uncompressed. You may also want to right-click the Archived Files branch of the data tree and select Refresh All to update the display.
|
3
|
Click Close.
|
|
1
|
In the data tree, right-click a query under Saved Queries.
|
|
Table 7-4
|
Query Current View File. Run the query against the current view file.
Query Multiple View Files. Display the Files tab in the Query Builder to select the files against which to run the query.
Rename. Change the name of the query.
Delete. Remove the query permanently from the list.
Note The larger the file, the longer it takes to decompress and become ready to query. For large files, to be sure that all records are ready, use the Admin View Status Log command to check the status log for the “finished decompressing” message, even if the file icon shows as uncompressed. You may also want to right-click the Archived Files branch of the data tree and select Refresh All to update the display.
 .
.|
n
|
Setting an Action for an Alert, including
|