Exporting an Actian DataFlow Workflow
The Export Actian DataFlow project lets you export Actian DataFlow workflows to different targets.
Exporting the Workflows
You can use the Export Actian DataFlow project wizard to export the workflows.
To export
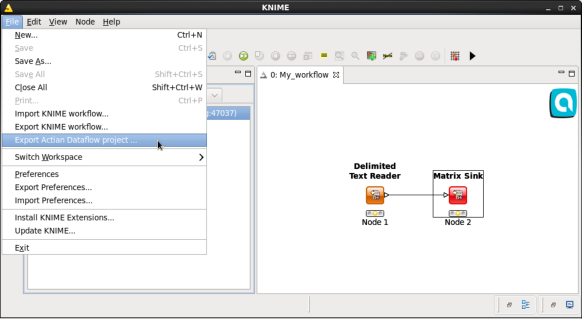
1. Open KNIME and go to File > Export Actian DataFlow project. Following is an example of the dialog:
2. In the displayed export dialog, do the following:
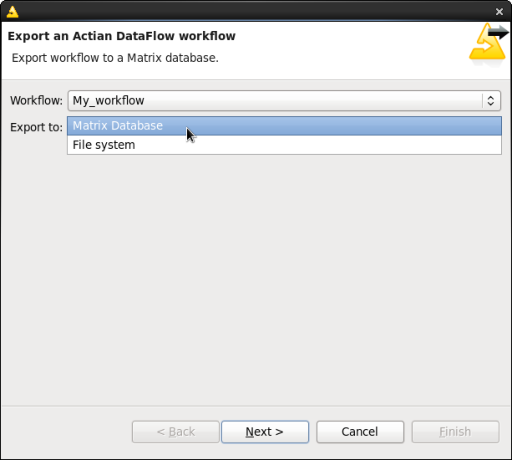
• Workflow – Select the workflow to export. You can select only from the workflows that are currently open.
• Export to – Select the target location to export the workflow. The target types currently supported are Matrix Database and File system.
Click Next.
Following is an example of the dialog:
The following section provides steps based on the selected export target.
File System
Select this target to export the selected workflow into a file that can be executed using the Actian DataFlow command line interface.
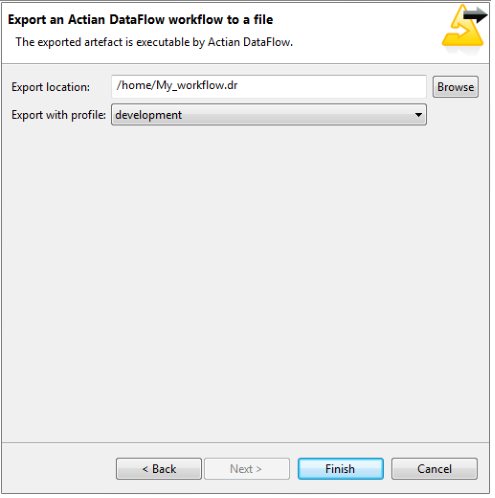
1. In the displayed file system export dialog, do the following:
• Export location – Enter the path for the output file.
• Export with profile – Select the profile to export with the workflow (optional).
Following is an example of the dialog:
2. To export the selected workflow to the specified file, click Finish.
Note: If the file already exists, the contents will be overridden.
Matrix Database
Select this target to export the selected workflow into a Matrix database and have the workflow available for execution using the invoke_dataflow UDF. Select a Matrix connection so that the wizard will connect to the specified database.
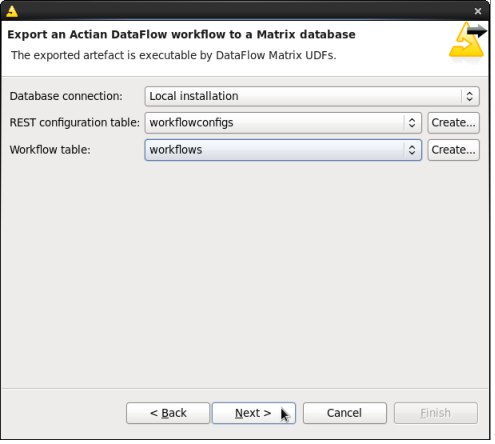
1. In the displayed Matrix export dialog, do the following:
• REST configuration table – Provides the list of compatible tables. Select a table to save the configurations or create a new table.
• Workflow table – Provides a list of workflows. Select a table to save the workflows or create a new table.
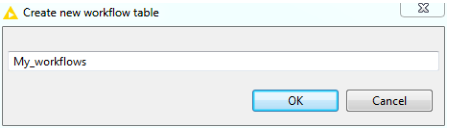
To create a new table, click Create and provide a name.
2. In the displayed dialog, do the following:
• Workflow name – Enter the name for the exported workflow. This will appear in the workflows table of the database that was previously selected.
• REST Configuration – Either select one of the configurations that are stored in the previously selected REST service configurations table or to create a new table. To create a new table, click Create.
• Profile – Select the profile having the configuration information that should be used when executing the workflow.
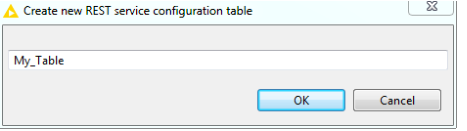
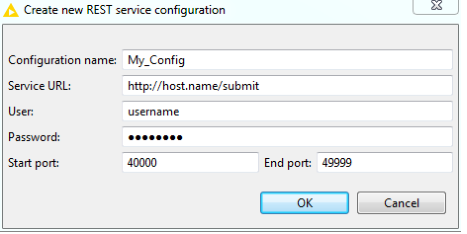
3. In the Create new REST service configuration dialog, enter the following details:
• Configuration name – Name of the new configuration.
• Service URL – Workflow submission URL.
• User – User name for accessing the service.
• Password – Password for accessing the service.
• Start port – Beginning of the range of port.
• End port – End of the range of port.
Click OK.
The new configurations are stored in the previously selected REST service configurations table.
4. In the displayed dialog, select one of the configured execution profiles.
The selected profile is exported along with the selected workflow. This is used when this workflow is executed from a UDF call.
5. Click Finish.
The selected workflow and execution profile is exported to the selected workflows table, and it will reference the selected REST service configuration.