Create a Table Using Visual DBA
After you create a database, you can create its tables, indexes, and other database objects.
To create a base table
1. Expand the Databases object category branch in the Database Object Manager window, and then expand the branch of the database in which the table will be created.
2. Select the Tables object category branch and click the Add Object toolbar button

.
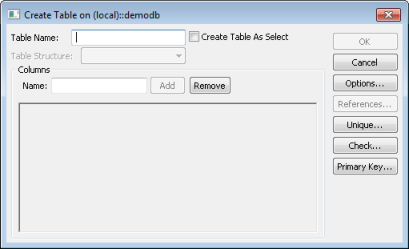
The Create Table dialog appears.
Enter a unique, valid name for the table in the Table Name field.
In the sample dialog below, the airport table in the demodb database is being created.
Note: You can create a table from another table by selecting the Create Table As Select check box. For detailed information about each option, see the Visual DBA online help.
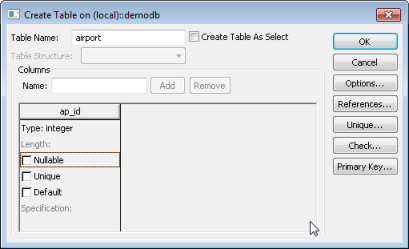
3. Enter a column name in the Name edit control in the column layout box (for example, ap_id) and click Add.
A column is added to the column layout box.
4. Define the specifications of the column, such as data type, length, and primary key. For example:
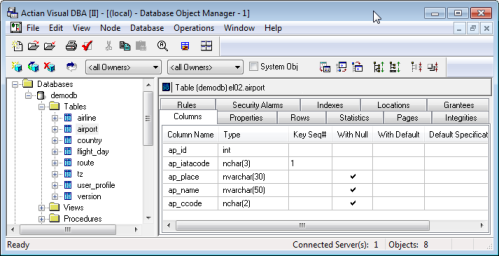
5. Repeat steps 4 and 5 for each column you want to add to the table (for example, add an ap_name column), and click OK.
The table is created and appears under the Tables object category branch, as shown in this example:
After a table and its columns are defined, you can then populate the table with data from a file. You can also create an index to improve query processing and define a view, or virtual table, to limit access to specific columns.