Create a Local Variable
To create a local variable for an Append, Browse, or Update frame
1. Select the frame as the current frame in the Application Flow Diagram.
2. Select Edit from menu.
You also can select Edit from the Visual Query Editor. Select Local Variables from the menu.
Vision displays the Edit Local Variables Window as shown in the following figure:
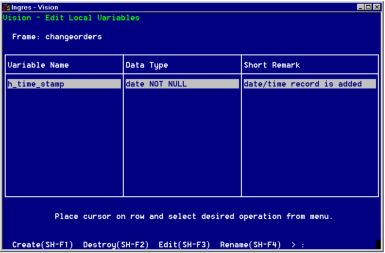
3. Select Create from the menu.
Vision displays the Create a Local Variable pop-up window as shown in the following figure:

4. Enter a name for the local variable according to the guidelines given above.
5. Press Tab.
6. Specify the data type for the local variable in either of these ways:
• Enter a valid Ingres data type or the name of a record type that you created previously for this application.
• Use the ListChoices operation.
Vision displays a list of valid data types as shown in the following figure:
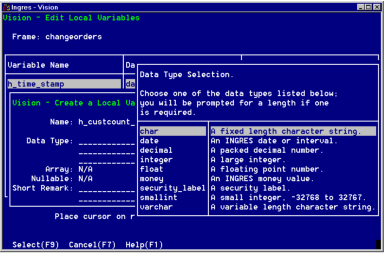
Be sure the data type is consistent with the function of the local variable. For example, if the value of the variable is a name, use a character data type.
7. Press Tab.
If you have specified a record type in the Type field, the Array field is displayed. Enter yes to indicate the variable is an array or no to indicate the variable is a single record.
If you have specified an Ingres data type in the Type field, the Nullable field is displayed. The default value of yes indicates that the variable can accept a null value. Enter no to make the variable not nullable.
8. Press Tab.
9. Enter a Short Remark to describe this variable.
This remark appears in the Edit Local Variables window. It also appears as a comment in the 4GL code that Vision generates for this frame.Select OK from the menu.
Vision saves your local variable and places it in the Edit Local Variables window.
10. Repeat Steps 4 through 12 to create additional local variables, or select End to return to the window in which you were working.
Last modified date: 01/30/2023