Create a Template
Templates represent a reusable configuration with instructions for running your DataConnect job. The template includes a package, macros, and location to execute the job.
To create a template
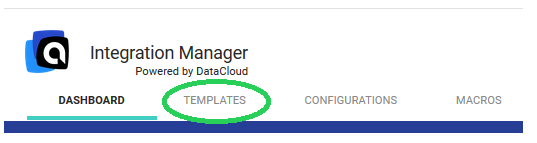
1. Click the Templates tab.
2. Click the Add button.
3. Enter a name for your template and then click Go.
The template details pane is displayed:
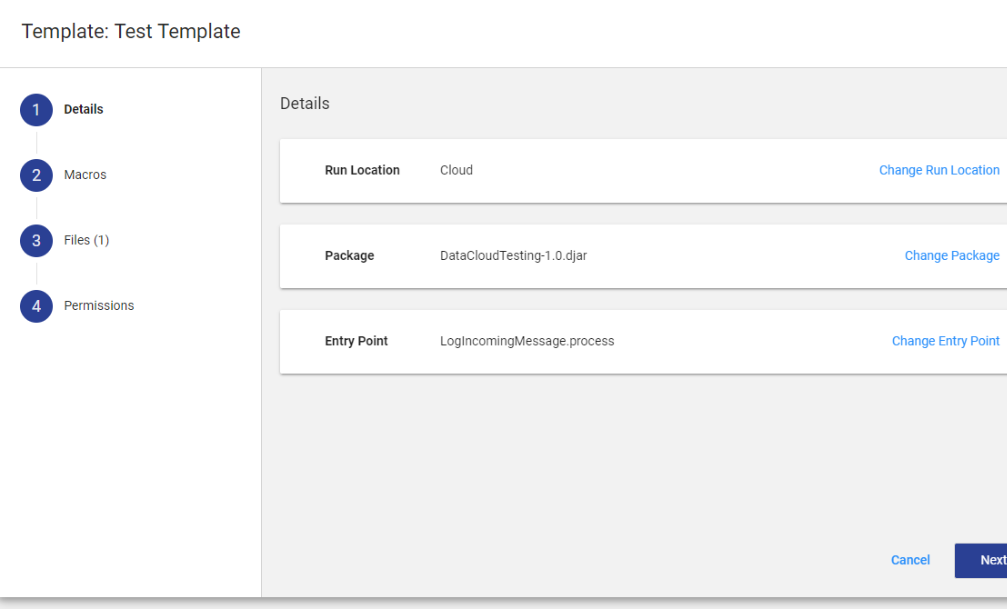
1. Details
1. Specify the following template details:
Package
a. Select your package by clicking Add Package to open the Select a Package dialog.
b. Click the Upload New Package button to browse for your package locally, then click Add Package.
On-Premise Note: You may use samples provided at C:\Program Files\Actian\IntegrationManager\samples
Entry Point
Set an entry point from the package, then click Save.
Note: If your package only has one entry point, it will be selected automatically.
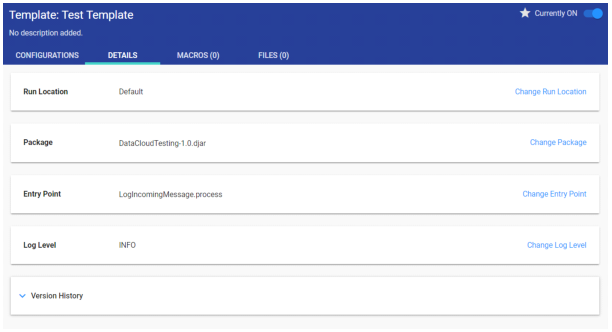
Run Location
Specify where to run the configuration: in the Cloud or on-premise with an Agent.
Log Level
Specify a log level if needed. You may choose from the following:
• DEBUG
• INFO
• SEVERE
• WARNING
2. Click Next.
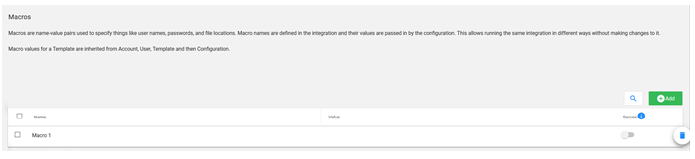
2. Macros
You may either add a macro or import a macro. Follow the appropriate procedure below.
To add a macro
1. Click Macros.
2. Click the Add a Macro button, then select Add Macro from the drop-down.
3. Enter the macro name.
4. Provide a value, if needed.
5. If the macro needs to be secured, click the toggle on the right.
6. Click Next.
To import a macro
This method only supports XML and JSON files. For more information about macros and how they are used, see the Actian DataConnect documentation at:
http://docs.actian.com/dataconnect/11.1/index.html.
1. Click Macros.
2. Click Add.
3. Click Import Macro File from the drop-down.
4. Browse for your macro file locally, select the file name, and click Open.
5. Click Next.
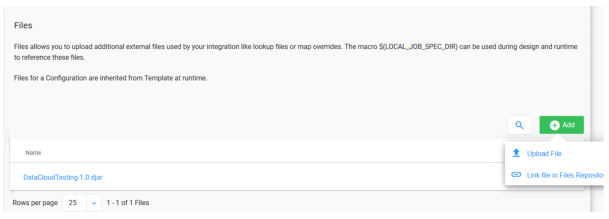
3. Files
To add files to the template
1. Click Files.
2. Either drag and drop files onto the Files pane or click the Add button, then click Upload File to browse locally for your files. You also may select files from the Public, Private Users file repository using the option Link file in Files Repository.
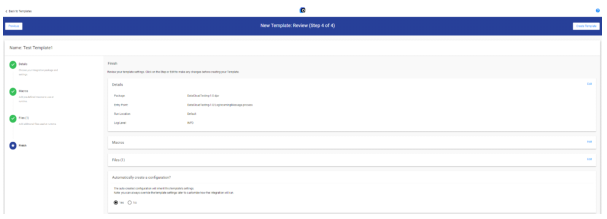
4. Finish
Review the template settings
1. You can edit the template here before creating it.
By default, a configuration is created with the name same as a template and inherits all the template's settings. If you do not want an auto-created configuration, you can choose No.
2. Click Create Template to finish creating your template.
Your newly created Template is displayed. You may now add a configuration to your template.
Not Ready to Finish the Template? If you are not ready to make the template available for configuration runs, you may either delete it or save it as a draft. Click Back to Template. A dialog Save as Draft pops up. Click No, Delete Forever to delete the template, or click Save as Draft to save it as a draft. Saving as a draft will set the template to inactive. To make it active, in the Templates list, you must click the template name and then click the Active toggle to On. This will make the template active.