|
5
|
|
1
|
|
3
|
|
4
|
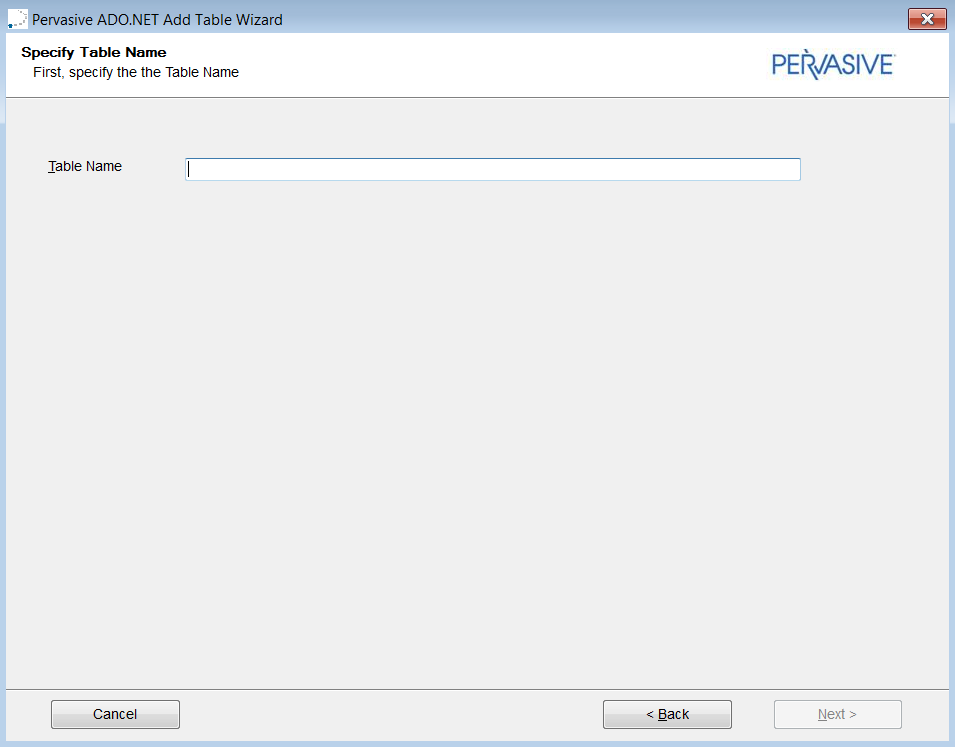
Click Next. The Specify Table Name dialog appears.
|
|
5
|
|
6
|
Click Next. The Specify Column(s) dialog appears.
|

|
•
|
Click Add to add a column to the table. The Column Name and Data Type fields become editable.
|
|
•
|
If the column can have a Null value, select the Allow Null check box.
|
|
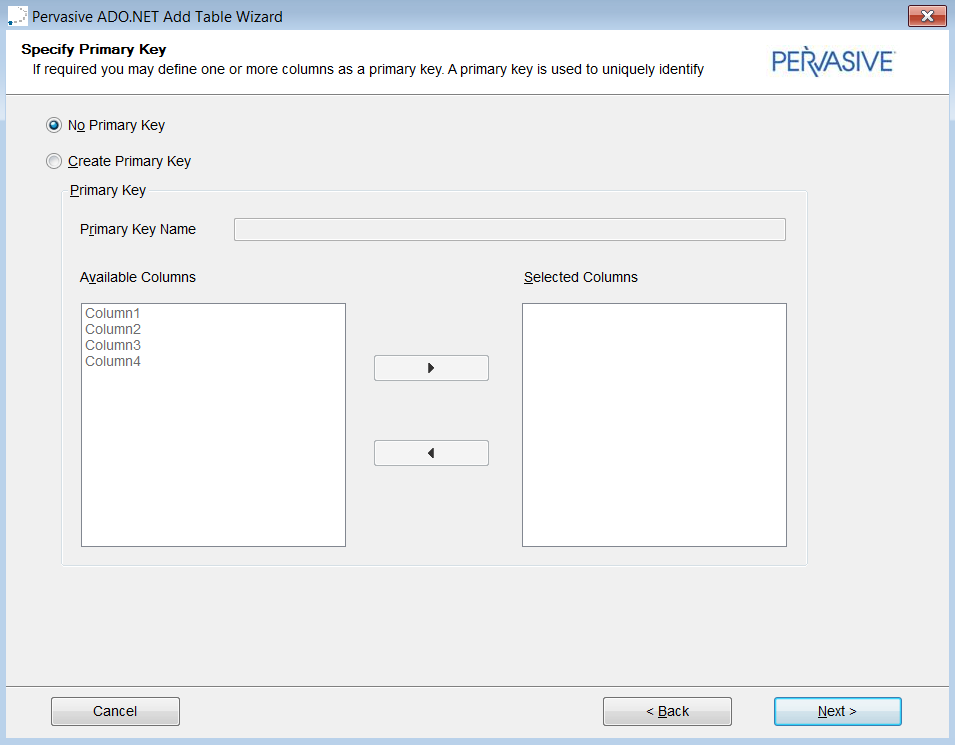
8
|
|
•
|
If you do not want to specify a primary key for the table, select No Primary Key, and then click Next. The Specify Unique Key(s) dialog appears. Continue at Step 12.
|
|
•
|
If you want to specify a primary key for the table, select Create Primary Key, and then continue at Step 10.
|
|
11
|
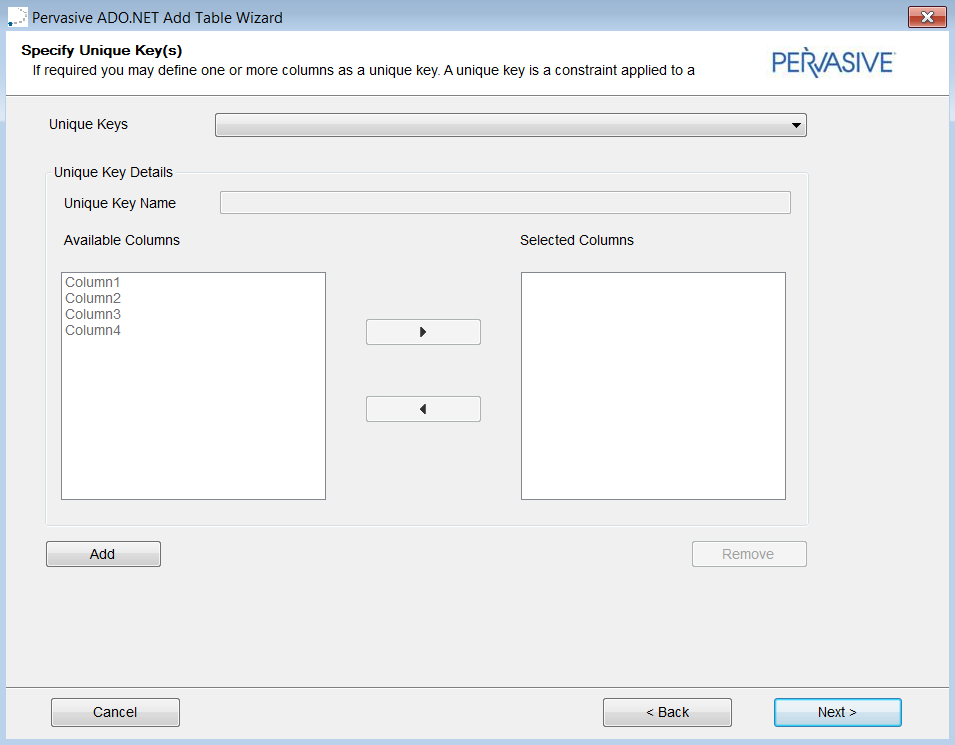
Click Next. The Specify Unique Key(s) dialog appears.
|
|
•
|
If you do not want to specify unique keys for the table, click Next. The Specify Foreign Key(s) dialog appears. Continue at Step 15.
|
|
13
|
Click Add. The fields on the dialog become selectable:
|
|
•
|
In the Unique Keys drop-down list, select a unique key.
|
|
•
|
In the Unique Key Name field, edit the name or accept the default name.
|
|
•
|
In the Available Columns list box, select one or more columns to be used to specify the unique key, and move them to the Selected Columns list box.
|
|
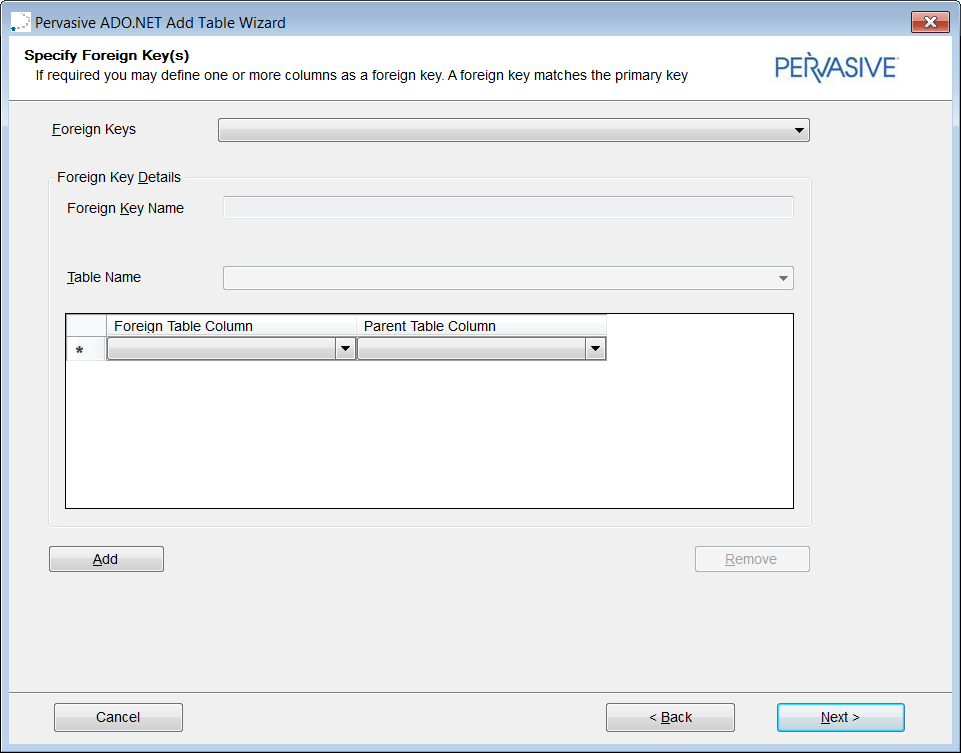
14
|
|
•
|
If you do not want to specify foreign keys for the table, click Next. The Review SQL dialog appears. Continue at Step 18.
|
|
16
|
Click Add. The fields on the dialog become selectable:
|
|
•
|
In the Foreign Keys drop-down list, select a foreign key.
|
|
•
|
In the Foreign Key Name field, edit the name or accept the default name.
|
|
•
|
In the Table Schema list, select a table schema.
|
|
•
|
In the Table Name list, select a table schema.
|
|
•
|
In the Foreign Key Column list, select one or more columns to be used to specify the foreign key.
|
|
•
|
In the Parent Table Column list, select the corresponding column from the parent table.
|
|
17
|
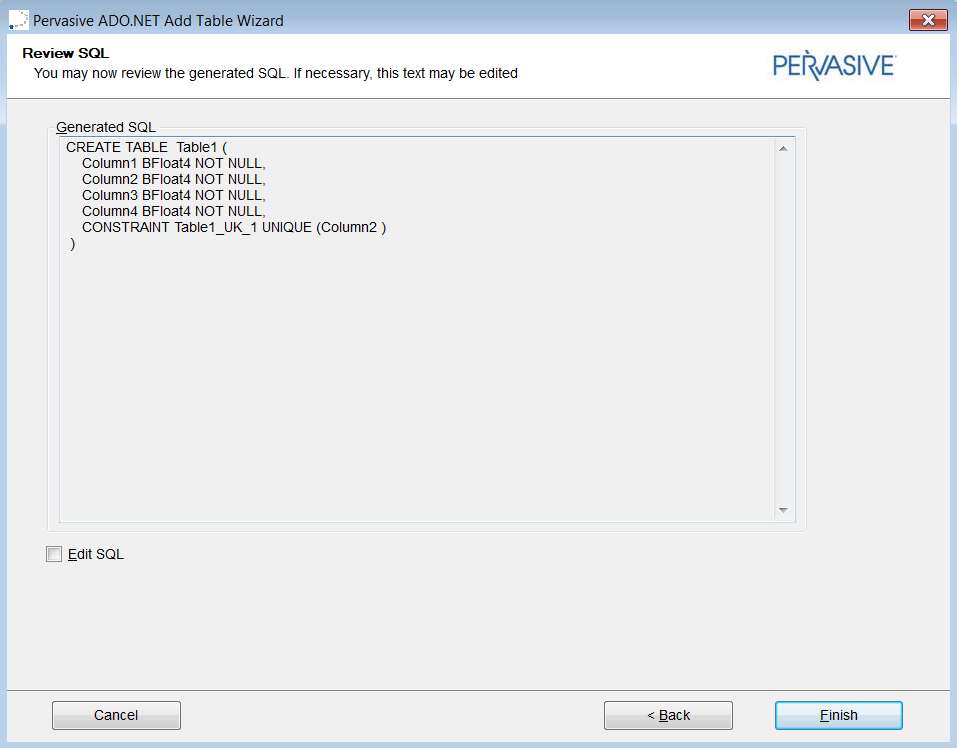
Click Next. The Review SQL dialog appears.
|
|
•
|
If you are satisfied with the SQL statement, click Finish. The table that you created appears in Server Explorer under the Tables node for the connection.
|
|
•
|
|
19
|
Select the Edit SQL check box. The text in the Generated SQL field becomes editable.
|
|
20
|
When you are satisfied with your changes to the SQL statement, click Finish. The table that you created appears in Server Explorer under the Tables node for the connection.
|
|
1
|
|
3
|
Right-click the Views node, and select Add New View. The PSQL Add View Wizard welcome dialog appears.
|
|
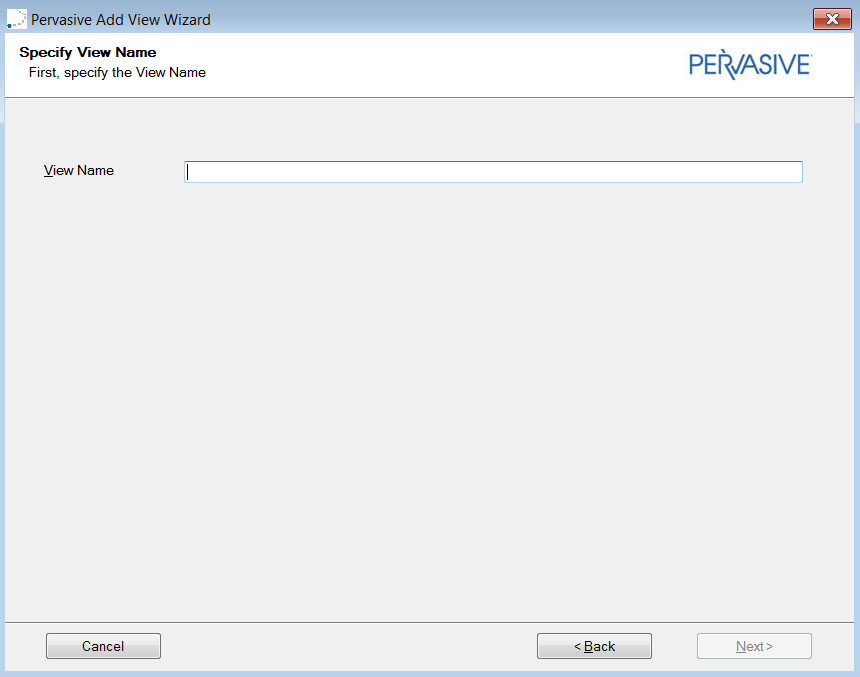
4
|
Click Next. The Specify View Name dialog appears.
|
|
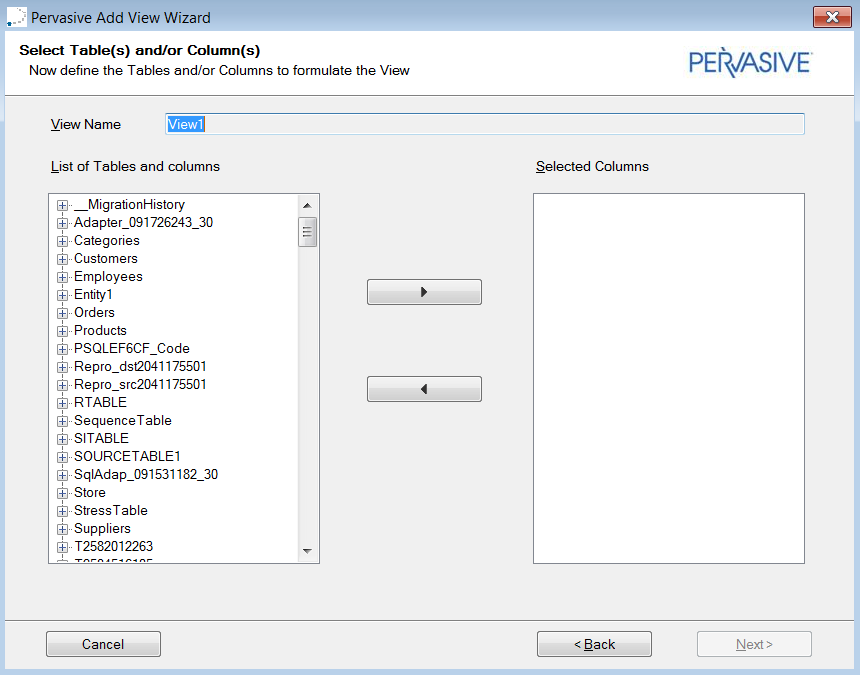
6
|
|
7
|
In the List of Tables and columns list box, select the tables or columns that will make up the view, and move them to the Selected Columns column.
|
|
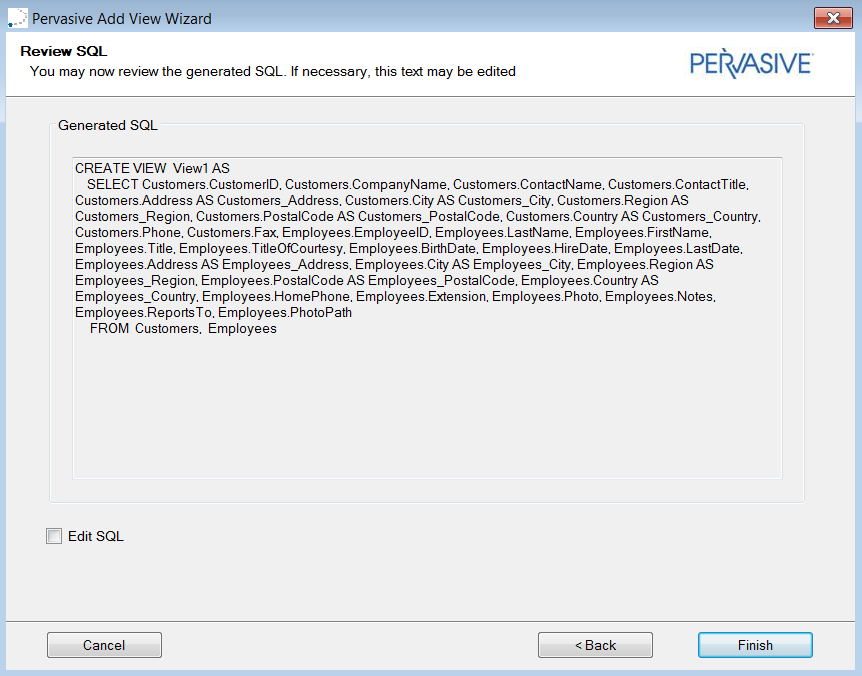
8
|
|
•
|
If you are satisfied with the SQL statement, click Finish. The view that you created appears in Server Explorer under the Views node for the connection.
|
|
•
|
|
10
|
Select the Edit SQL check box. The text in the Generated SQL field becomes editable.
|
|
11
|
When you are satisfied with your changes to the SQL statement, click Finish. The view that you created appears in Server Explorer under the Views node for the connection.
|