|
1
|
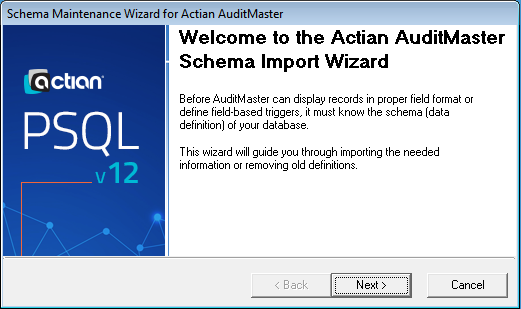
Open Schema Maintenance Wizard from the AuditMaster program group.
|
|
2
|
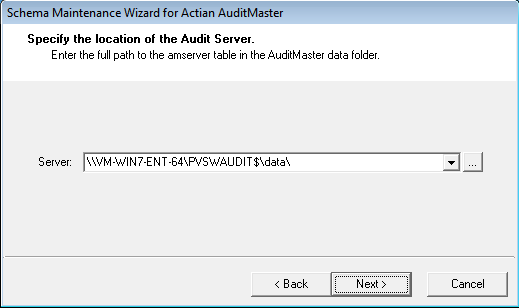
Click Next to specify the location of the amserver file.
|
|
3
|
Accept the default path to the file, or enter a custom path, and click Next. You may also use the ellipsis button to browse to a folder or network location.
|
|
4
|
|
5
|
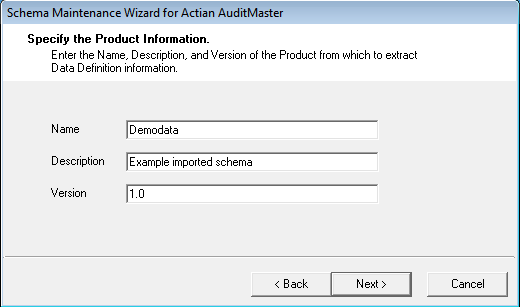
Enter a name for the audit configuration.
|
|
6
|
Enter a description for the audit configuration.
|
|
7
|
Enter a version for the audit configuration.
|
|
8
|
Click Next.
|
|
10
|
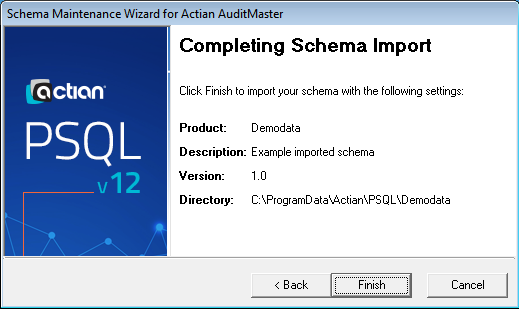
Click Next to see a summary of the schema import. You can click the Back button to make changes.
|
|
11
|
Click Finish to complete the import.
|
|
12
|
Click Close.
|
|
1
|
Open Schema Maintenance Wizard from the AuditMaster program group.
|
|
2
|
Click Next to continue.
|
|
3
|
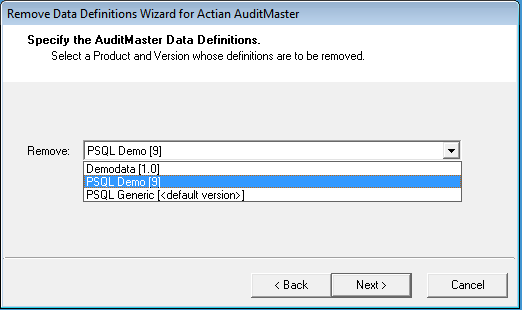
Accept the default path to the file, or enter a custom path, and click Next. You may also use the ellipsis button to browse to a folder or network location.
|
|
4
|
|
6
|
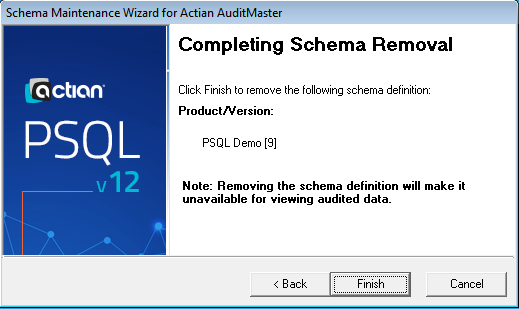
Click Finish.
|
|
7
|
Click Close.
|

|
2
|
Right-click the server name to select Login. You may also double-click the name to open the login dialog.
|
|
3
|
|
4
|
Click OK.
|
|
5
|
|
6
|
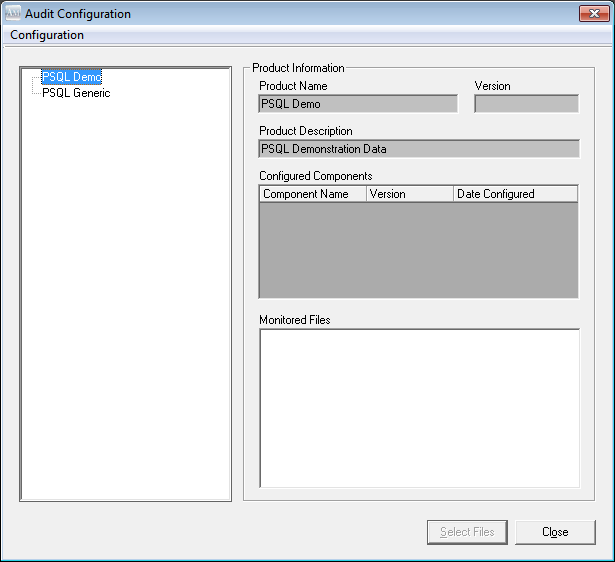
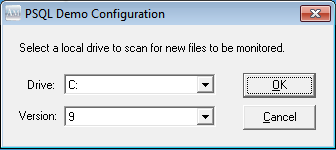
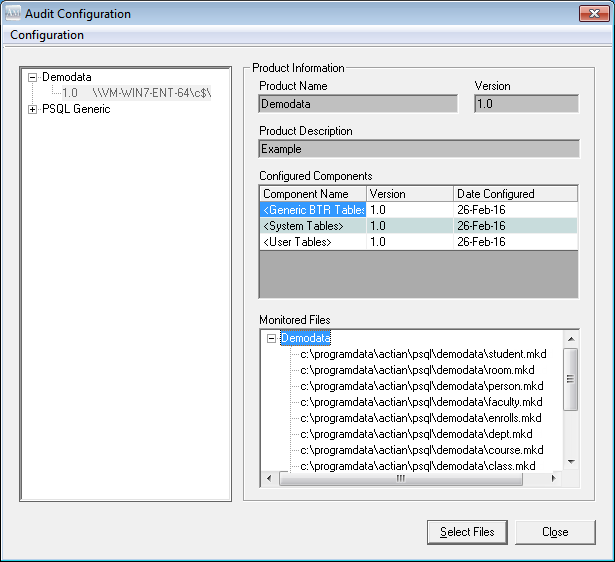
In the left pane of the Audit Configuration window, right-click PSQL Demo and select New Configuration. You may also double-click to open the PSQL Demo Configuration dialog.
|
|
7
|
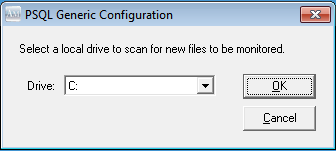
If you have a standard PSQL installation, click OK to accept the default drive C for the PSQL Demo drive location and the version of PSQL. Otherwise, use the list to change to the location of your PSQL database.
|
|
8
|
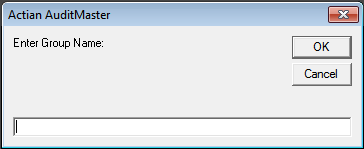
Click Add Group to open the Enter Group Name dialog.
|
|
9
|
|
10
|
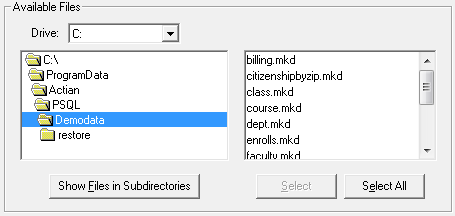
In the Available Files area, navigate through the folder hierarchy to locate files to monitor. Only files in Btrieve format are listed. You may also use the Show Files in Subdirectories button, after double-clicking a folder, to display a list of all Btrieve files from the double-clicked directory downward.
|
|
11
|
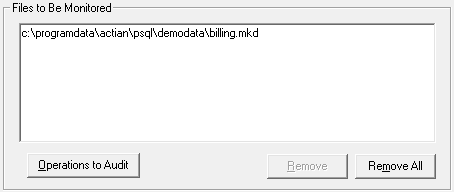
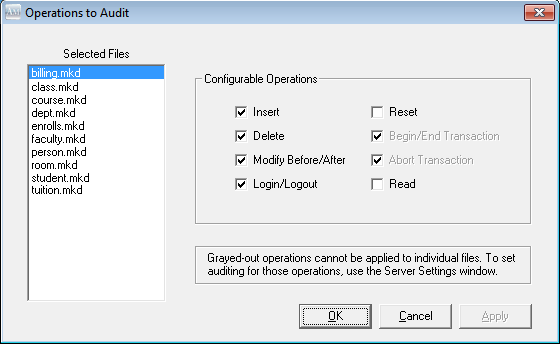
Select the file name billing.mkd, and click Select. You may also double-click the file name to move it to the Files to Be Monitored list.
|
|
15
|
Click OK.
|
|
1
|
Open AM Viewer from the Start menu.
|
|
2
|
Right-click the server and select Login. You may also double-click.
|
|
3
|
In the IAuditMaster Login dialog box, enter the default user name admin and the password MASTER in all capital letters and click OK.
|
|
4
|
|
5
|
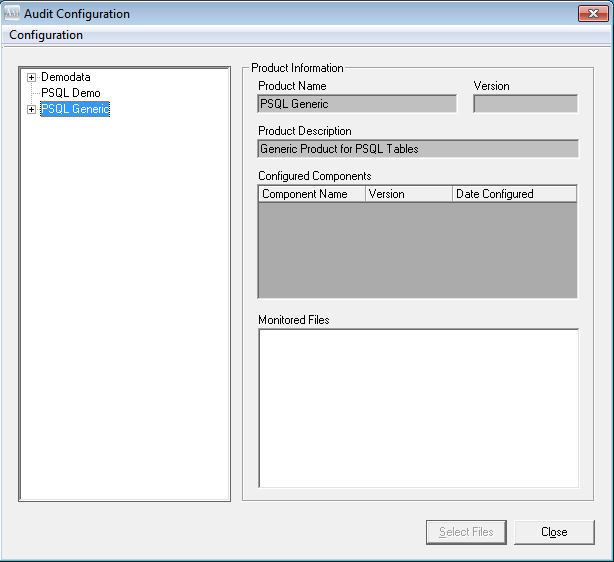
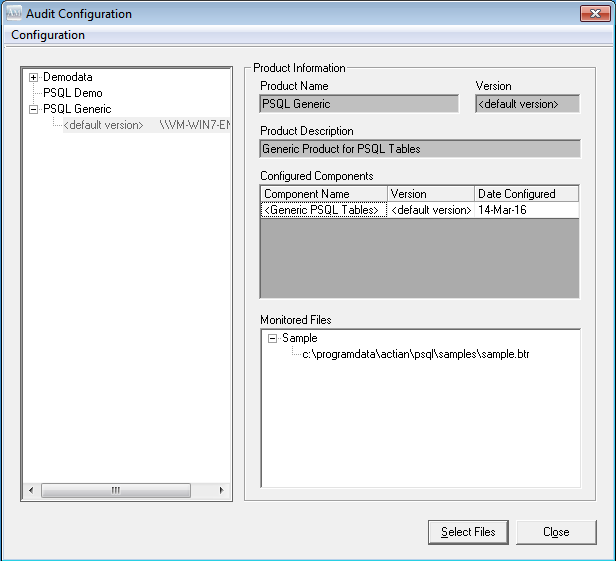
In the left pane, right-click PSQL Generic and select New Configuration. You may also double-click to open it.
|

|
7
|
Click Add Group to open a dialog box to enter the name of a group.
|
|
8
|
|
9
|
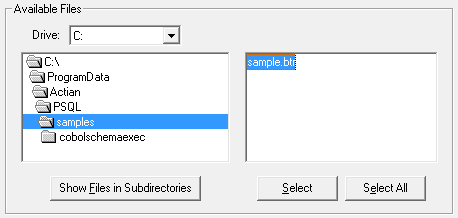
In the Available Files area, navigate through the folder hierarchy to locate files to monitor. Only files in Btrieve format will be listed. You may also use the Show Files in Subdirectories button to display a list of all Btrieve files from the current directory downward.
|
|
10
|
|
11
|
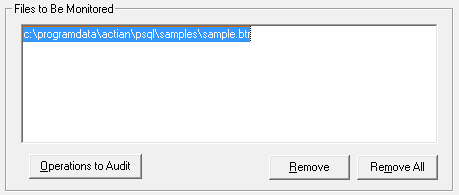
When you are finished, click Close.
|
|
14
|
Click OK.
|
|
•
|
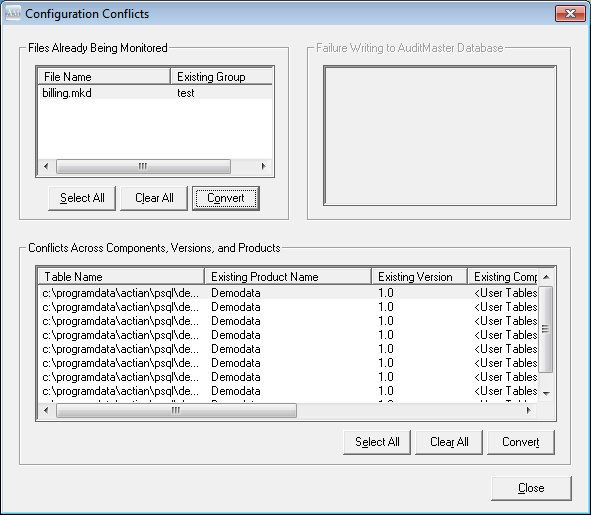
Click the Close button to cancel the selection and leave files in their original group.
|
|
•
|