Control Buttons
A control button is a control that appears on a form as a button that users can click to display a menu of commands or call a dialog. When you create a table field, OpenROAD Workbench automatically creates a control button with a default set of menu commands.
You can create control buttons independently of table fields or create a single control button that operates on multiple table fields with common commands. When you create an independent control button, you must create your own menu commands.
For more information about using control buttons in table fields, see
Create a Table Field. For more information about creating menu items, see
Creating and Modifying Menus.
Create a Control Button
You can create a control button on a form.
To create a control button
2. Select the Control Button icon on the field palette.
3. Click to place the control button on the form.
4. Set the properties for the control button.
For complete descriptions of each field property, see
Control Button Properties and
Common Field Properties.
Control Button Properties
All the properties for control buttons are described under
Common Field Properties, with the exception of the following property that is specific to the control button field type:
FocusBehavior
Determines whether clicking this field causes the previous field to be exited and whether the Tab key moves the cursor to this field. For control buttons, the only valid options are FT_SETVALUE and FT_NOSETVALUE.
For more information about the available focus behaviors, see
How You Can Set the Focus Behavior.
Edit the Option Menu for a Control Button
Every control button that is part of a table field has an option menu with four default commands:
• Insert Before Current Row
• Delete Current Row
• Delete All Rows
• Copy Table
You can delete or modify any of these default commands, or add other commands using the Option Menu Editor. OpenROAD Workbench provides the script for each of the default commands. You must write the script for any menu items that you add.
Note: Independent control buttons have no default commands. You must create all the menu items and write the scripts for them.
To edit the option menu for a control button
2. Select the control button on the form.
3. Click Edit, OptionMenu on the floating menu bar.
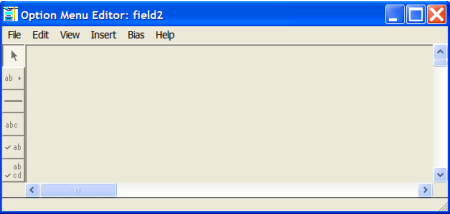
The Option Menu Editor is displayed. For example:
4. Delete or modify the menu items, and add any new items.
5. Select the menu item and use the Property Inspector to edit the properties of a menu item.
6. Click Edit, Script to create or edit the script for an option menu.
Workbench opens the Script Editor (or your system editor) and displays the script for the menu. For an item that you have just added, the script is blank.
For more information about using the Script Editor or your system editor to write scripts for option menus, see
Writing Scripts and Procedures and the
Programming Guide.
7. Click File, Close in the Option Menu Editor when you are finished editing the option menu.
Note: Active fields, including named composite fields (table fields excepted), may have a property option menu that pops up when the end user clicks the secondary mouse button over the field. (If you want a child field of a named composite field to use the composite field's property option menu, set the child field's IsPropOptInherited property to TRUE.) Property option menus are similar to option menus on control buttons. To edit a property option menu, click Edit, PropertyOptMenu.