|
1
|
|
2
|
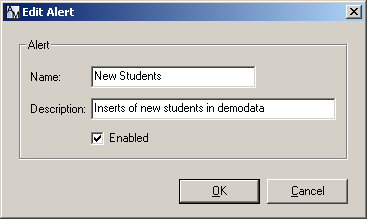
Click Edit.
|
|
3
|
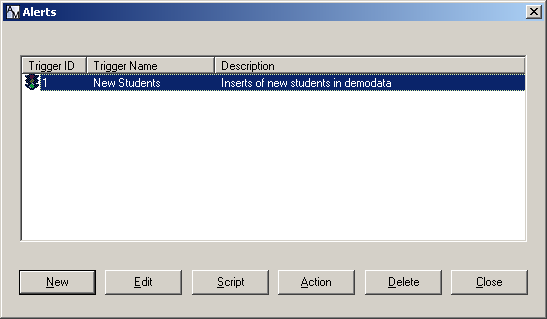
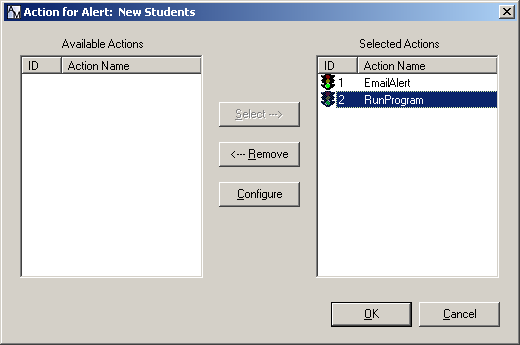
Select at least one of the built-in alerts, and click the Select button:
|
|
w
|
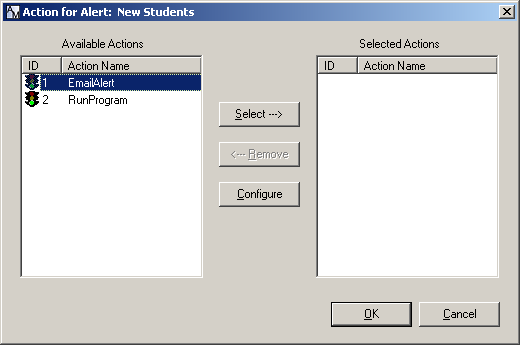
EmailAlert
The EmailAlert action sends an email to a specified group of addresses when an alert condition is met. To configure the email alert action, proceed to Setting an EmailAlert Action. |
|
w
|
RunProgram
The RunProgram action runs a specified program on the server when an alert condition is met. To configure the program, proceed to Setting a RunProgram Action. |
|
4
|
Click OK.
|
Note After creating or changing an alert, close AuditMaster Viewer and restart the AuditMaster event handler so that the alert takes effect. See Restarting the AuditMaster Event Handler.
|
1
|
If the Alerts window is not open, select File Alerts, select the alert to configure, click the Action button, click EmailAlert, and click the Select button.
|

|
2
|
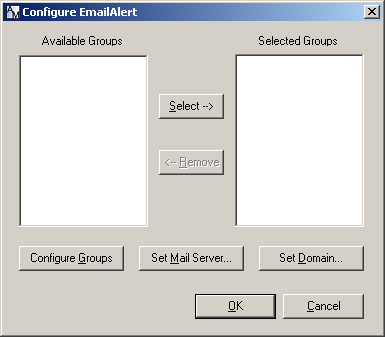
With the EmailAlert item selected, click the Configure button.
|
|
4
|
To set the SMTP server used to send out-going mail, click Set Global SMTP Server.
|
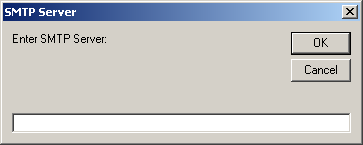
For example, if your out-going mail server is named smtp-server.companyname.com, then enter smtp-server in this field.
|
6
|
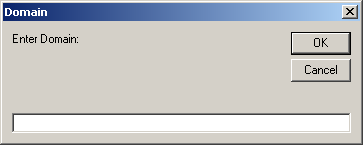
To set the global domain used by your company, click Set Global Domain.
|
|
7
|
Add the domain name, such as pervasive.com, and click OK. Continuing with the example from the last step, here you would enter companyname.com.
|
|
8
|
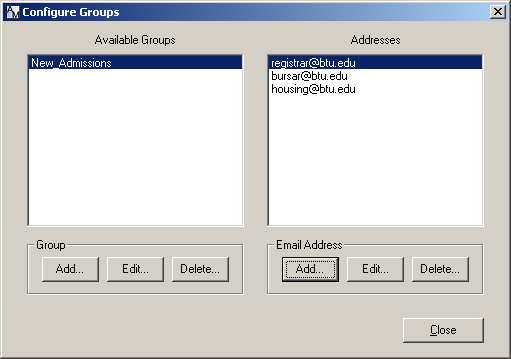
To configure a group, click Configure Groups.
|
|
9
|
In this window you can manage email groups and addresses, as described in the following table. When you are finished, click OK to return to the Configure EmailAlert window.
|
|
Select a group name, click Delete Group, and click Yes to confirm. The group is deleted only for this alert and remains in the system for use in other alerts.
|
|
|
With a group selected, select an address from the list of email addresses for that group, then click Edit E-mail, enter a new email address, and click OK.
|
|
|
With a group selected, select an email address, click Remove E-mail Address, and click Yes to confirm.
|
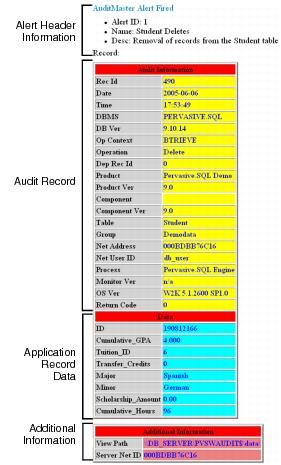
The following sample email alert was tripped by an insert in the Demodata database. If AuditMaster monitors a database without a schema, the application record data in the alert does not display the hexadecimal content. If the schema has been imported, then column names are displayed.
Figure 7-5 Structure of an Email Alert
|
1
|
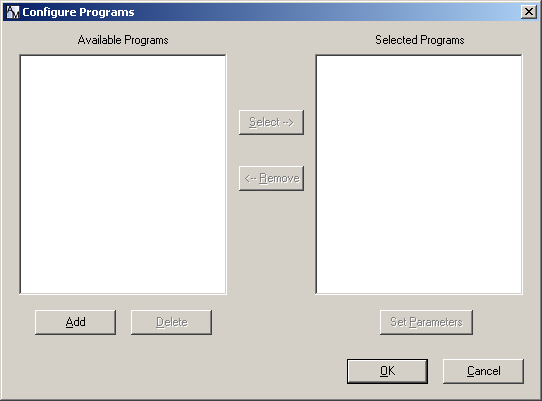
If the Alerts window is not open, select File Alerts, select the alert to configure, click the Action button, click RunProgram, and click the Select button.
|
The RunProgram action moves to the Selected Actions column.
|
2
|
With the RunProgram item selected, click the Configure button.
|
|
|||||
|
|||||
|
|||||
|
|
4
|
When you are finished selecting and configuring a program to run as an alert, click OK to return to the Action for Alert window.
|
|
5
|
Click Close to exit from the Alerts window.
|
Figure 7-6 Edit Alert Window