Configuring Actian Vector Enterprise Edition on AWS Marketplace
Configuring Vector to Use the Newly Set Up Disks
After you have set up your storage and mounted the appropriate device (which could be a single volume or multiple volumes making up a RAID array), you can create a database that uses this storage by following this simple process:
1. Define a location in Vector that points to the new disk or directory representing the storage you have set up.
2. Create a database to use this defined location.
For example, let’s assume that we have mounted our device (backed by EBS or instance store volumes) on the /mnt/disk1 mount point, which we want to use for a new database, proddb.
Create the location and the database by using one of the following procedures.
To use Terminal Monitor and the Command-Line tool to create the location and the new database
1. Connect to the system database iidbdb using the SQL terminal monitor and execute the following command:
CREATE LOCATION myloc1 WITH AREA = '/mnt/disk1/db_location', USAGE = (ALL)\go
This creates the directory db_location with an appropriate directory structure underneath.
Note: The user actian must have write privileges for /mnt/disk1, otherwise this command will fail.
2. Create a database with the createdb command-line tool and use db_location for that database:
createdb proddb -dmyloc1
To use Actian Director to create the location and the new database
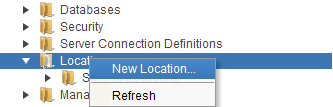
1. Connect to the instance and expand the tree underneath. Right-click on the Locations folder and select New Location….
The New Location dialog box opens.
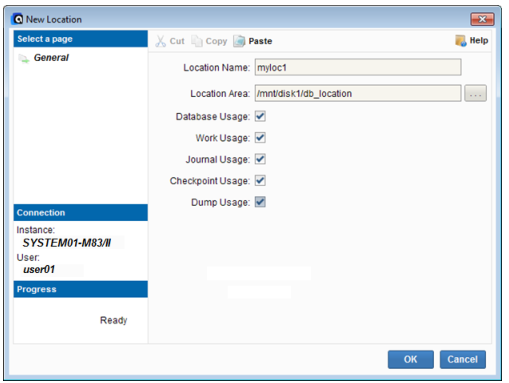
2. Enter the Location Name myloc1 and the Location Area /mnt/disk1/db_location and check all the usage checkboxes:
3. Click OK to create the location.
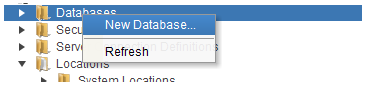
4. Right-click on the Databases folder and select New Database….
The New Database dialog opens.
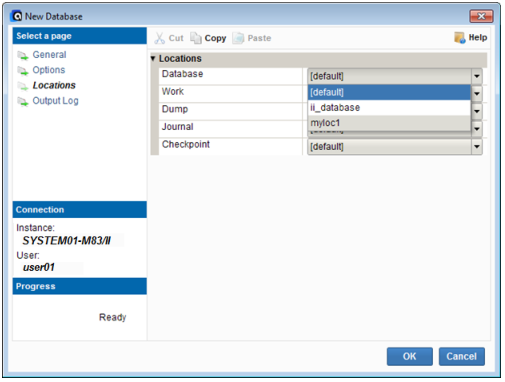
5. Enter the new database name proddb in the Name field.
6. Click the Locations link and select your new location myloc1 for each of the locations:
7. Click OK to close the dialog box.
Your new database is created.
For more information about locations, see
Using Alternate Locations in the Vector documentation.