Authentication and Access Control
Sign in to Actian
General Login Steps
- Go to the Login Page: Navigate to the Actian Data Observability Platform login page.
- Enter Credentials: Use your registered email address and password.
- Click "Sign In": Click the sign-in button to access your Actian account.
Single Sign-On (SSO) Login Steps
Many organizations use SSO for a more secure and streamlined login experience. If your company uses an identity provider (IdP) like Okta, you'll use this method to log in.
- Go to the Login Page: Navigate to the Actian Data Observability Platform login page.
- Enter Credentials: Use your registered email address.
- If SSO is configured for your account, you will be navigated to the IDP option. If multiple SSOs are configured, you will need to select the desired one.
- You will be redirected to your organization's identity provider login page.
- Enter your Company Credentials: Use your standard company username and password to authenticate.
- Redirect to Actian: After successful authentication with your IdP, you'll be redirected back to the Actian account.
Please click [SSO Configuration] (sso-configuration.md) to learn more about setting up your SSO configuration.
Sign in Issues
Potential issues you may face when signing in:
- Account locked out
- User not added to SSO group
- User not added to Data Observability account
Managing Users
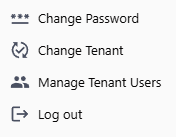
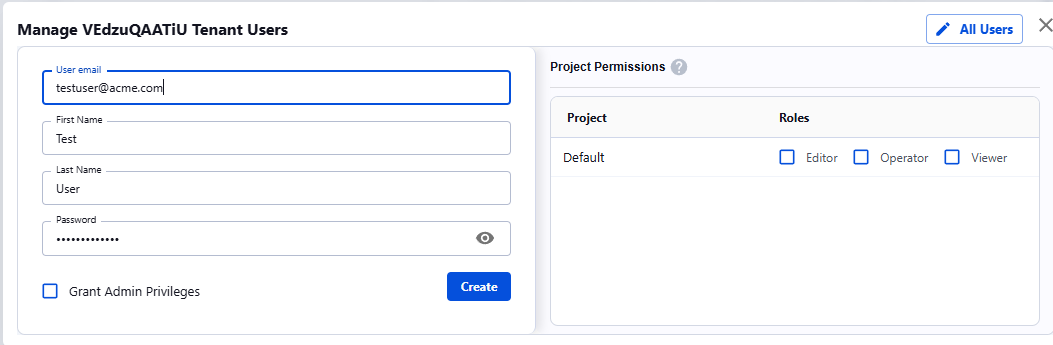
Data Observability allows you to create, edit, and delete users via the Manage Tenant Users UI menu:
Role-based Access
The Platform supports project-scoped permissions. Tenant admins are able to modify these permissions accordingly:
| Role | Add/Modify Users | Add, Edit or Delete Source | Scan source/ |
View scan results |
|---|---|---|---|---|
| Tenant Admin | x | x | x | x |
| Editor | x | x | x | |
| Operator | x | x | ||
| Viewer | x |
To modify user roles,
- Click “Manage Tenant Users” under the user menu
- Click on the user you would like to modify permissions for
- “Project Permissions” table with different roles
- Select appropriate roles
- Click Save